Wednesday, November 17, 2010

It's Simple...Use Candles For Thanksgiving Ambiance

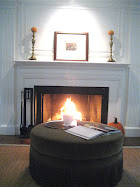
Easy-Simple-Easy-Simple!  Treat yourself and your guest to a lovely grouping of candles.  Clustering candles together will give you that needed ambiance without going through much trouble.  I will be hosting Thanksgiving at my home and I have to admit that I get caught up in the creative side of the holidays.  Fiddling here and there with table settings or decorations for my buffet is how I like to spend my time.  I know I should be cooking and shopping...blah...blah...blah!  I love to make everything look pretty and unique.  I think these images will work with what I had in mind.  I don't think it will take me much time to pick up some candles, set them out, and light them!  

Trina, over at A Country Farmhouse blog, uses taper candles beautifully in her dinning room.  I think she is all set for Thanksgiving.  It is the most pure and simple decoration for this season that I have come across.  She always does a beautiful job with her photography and decorating her home.  I was very inspired by these images to use candles to set the mood for our Thanksgiving meal.  Her home is darling!

I keep using the word easy but, how easy is it to place all white candles on a tray in different sizes?  Very effective.  Do you have some pretty or unusual bottles lying around in your attic or basement?  Get some gorgeous taper candles in different colors and just pop them in and you are all set!


  Everyone always looks better with candlelight!  If you don't have enough candles holders to use...head out to a local thrift store and pick some up!  In the past, I have scored adorable brass candle sticks for one dollar!  I actually feel a little better knowing that for Thanksgiving, my home will look beautiful and cozy by candlelight.  Maybe it will even mask a burnt dish or too!!!!!

I hope you give it a try too!
xojamilyn

Images via BHG and via A Country Farmhouse blog

Friday, November 5, 2010

49 More Days Till Christmas...I better put these away!

Built-in dinning room hutch


Pumpkin on a post in our front yard

Crow caught a bat

Hand made Halloween wreath via me.


Till next year and wishing for more motivation and inspiration to do some really interesting decorations.
Love my black crows!

Have a wonderful weekend~
xojamilyn


Photo's taken via me and property of Living It At Home


Friday, October 29, 2010

Heart Pumping Creative Halloween

Halloween decor at our prior home in California
Halloween design above via me.  My daughter is obviously very happy here because I have passed on my love of Halloween on to her.  I think it is a good thing because it is such a great way to get creative.  Getting creative is what makes you feel truly alive!  If it gets your heart pumping than you are on the right track and doing what you love! The rest of the photo's below are from Martha Stewart.  I really need to work for Martha!  I think that would be a dream job.  These images below are some of my favorites and I really have to try to do some of them next year.  I hate when I say that..."I will do it next year".  Usually two years end up flying by before I get to it!

The use of moss is underated!


I am wild about mushrooms!  Who would have thought to do this?  Martha of course!

Gray, gray and more gray!  One of my favorite colors!


This ghostly graveyard is fabulous!  

Happy Halloween!
xojamilyn

First photo property of Living It At Home, The rest from Martha Stewart Living


Thursday, October 28, 2010

Stop And Take A Moment To Enjoy

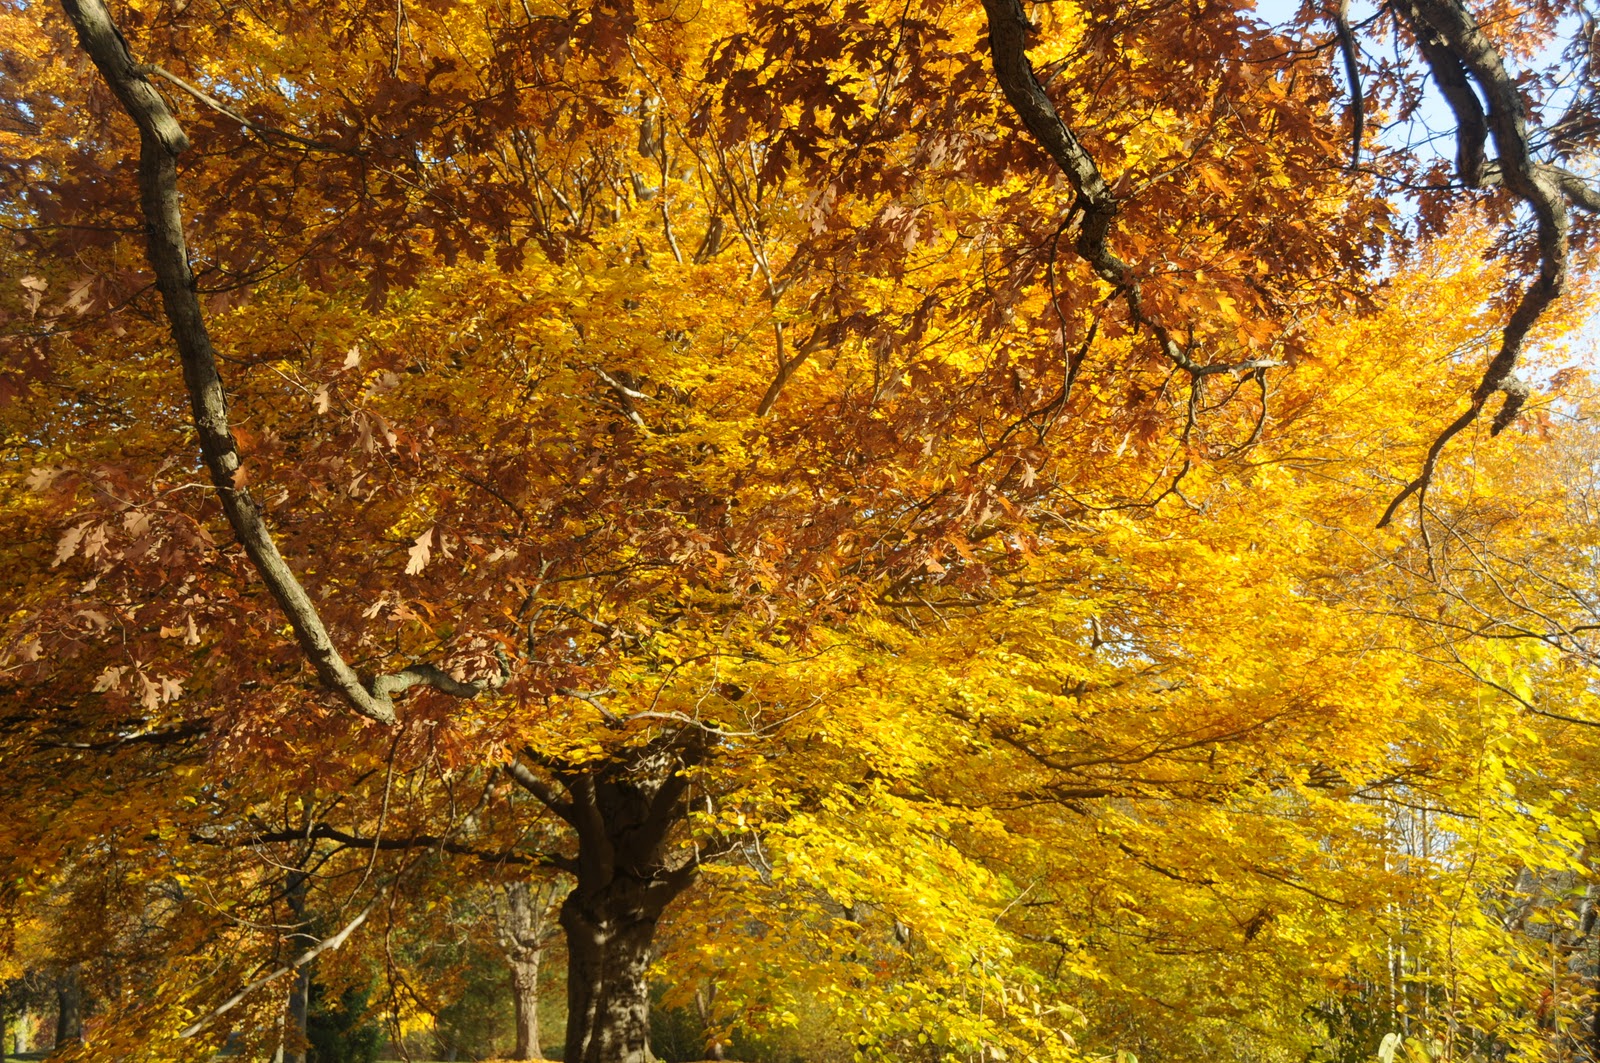
Stop and take a moment to enjoy...before it is all gone!  These photo's are the result of me doing just that this morning!  With my camera in tow and my pup, we walked along beautiful paths enjoying this lovely fall morning!  The trees are starting to shed their leaves in preparation for the winter.  This prettiness is not going to last.  Why don't you just slow down today and enjoy.  Stop your car and get out at a pretty spot and look around.  If you are inside...get outside!  It truly is spectacular.  You don't want to miss it.  Have a wonderful fall day!


xojamilyn
Fall photo's taken via me and property of Living It At Home

Tuesday, October 12, 2010

Feed Your Friendly Birds!

Just a friendly reminder to get your bird feeders cleaned and filled with delicious seeds for your local bird population!  I know she is not a bird, but sometimes I feel she is...kind of a like a chicken in a lot of ways!   While outside cleaning the bird feeder I decided to do a photo shoot with a pumpkin and Maggie (she is the white fuzzy thing).  She was pretty good at sitting {one of her best tricks she learned}.  She is my little shadow buddy.  Right there investigating what I was doing so of course I couldn't leave her out!
She really liked her new pumpkin friend!

I took this "peek-a-boo" moment last winter of this Black Capped Chickadee (our state bird).  Don't forget about these little guys! They need our help in the coming months! Adorable!  I am looking forward to photographing all the different birds that will visit the bird feeder.  Just not looking forward to standing out in the freezing cold and snow to get the perfect shot!  To see more photo's of my birds, go here.

Enjoying this beautiful fall New England day!
~jamilyn

{Photo's property of Living It At Home and taken via me}

Tuesday, October 20, 2009

Gone batty with bats!

Behold~my flying bats project is complete!  I think it came out pretty good.  What do you think?  The decoration is simple, has great contrast, clean lines and is quite realistic in its own way.  It is very different from what I usually do every year.  Do you adore the mini pumpkins sitting on the ledge? 

This is my side entrance to my "tiny" mud room (that is a whole other story).  Decided to continue over here and tie it all together with my front door.  I think it was a success without much effort!  I may still work more in this area.  Have to do something with the two urns that I have in front of this door.  Needs something else.  Will post if and when I get to it.

Here are some photo's I managed to take of the project in progress.  Very easy to do.   You can find a link to the templates that is used for this felt bat by going here (Country Living).   I made three different sizes on my copy/printer.  I thought it would look more realistic to have different sized bats.  I bought the "stiff" felt at Michael's craft store for 99 cents each, I got ten sheets.  I was able to produce many bats, after you fold it, on one sheet.  I used a white pencil to trace, cut inside the lines.  You can use white chalk also.


Here is the template traced.  All you have to do is cut it out.

Here is the finished bat, very easy.  I used masking tape doubled over to adhere it  onto the outside of my house.


This is a decoration that I did several years back.  I really like using Millet to plant in my urns by the side door.  It looks creepy and is really tall.  However, it was sold out this year!  When done with Halloween, it still works for the rest of the season.  Found this bat at this amazing store in Alameda, California called Gaslight Emporium.  If you ever are in the San Francisco area and it is around Halloween, you have to go to this shop.  It is done up for the occasion with the best items to add to your Halloween decorating and collecting.  They also have a great sale at the end! (Correction:  friend in California told me that they sized down and are not displaying all of their spooktacular items anymore.  Closing shop?  What a shame!).

Here is my tiny, teeny mud room.  I have some ideas to make it appear more functional.  I will post about that later.  This paper mache pumpkin was something I picked up on sale.  It has another face on the other side.  It is from Dept. 56.  Isn't it cute?  I put our Halloween candy in it every year and let the kids pick out what they want when the bell rings...."Trick or Treat"!   The nest on the floor is from a Robin. They usually build one outside my back door every year.  I am collecting them now.
          
This was fun!
Have a great time decorating!


Jamilyn


{Photo's property of Living It At Home, taken via me}

Monday, October 19, 2009

Simple Halloween Crow Nest


Since I love my black crows for Halloween decorating, thought I would share this image.  This is a great way to showcase my crows!  Looks fairly easy.  Looking closely, it seems that they used a fake white pumpkin to carve out the nest.  Don't know if I can get to do this right now, will have to save it for next year.

*Image from Martha Stewart


Have Fun!
Jamilyn

Snow Already?

We had a steady snow fall for about 5 hours.  It was very cold and mixed with rain.  At times the snow flakes were huge!  I took this picture to show how we are just getting into the full swing of a beautiful fall foliage display.  I think there is something wrong with this picture.  How could it be snowing now?  Well, in New England, anything goes.  I had to dig out all our winter gear.


Took this photo this morning.  Turned out to be a beautiful day.  Thought I would give you a sneak peak at some of my outside decorating for Halloween.  Still finishing up.  Will update with more later, check back.  Oh how I love my black urns.  I buy all my urns at this little flower farm in Concord.  They have the best selection and prices (shop around).  I love how the white tiny pumpkins add a little something.


Enjoy~  Jamilyn

Friday, October 16, 2009

Fun on Halloween

Creating and making these costumes over the years has been a challenge but fun.  Ghost Girl was a last minute idea because I had some extra cheese cloth.  I usually stock up on cheese cloth every year because you can dye it, paint it, or easily rip it up to make it look old and tattered.  Also, it sells out at the craft stores!  These are just some of the costumes we have done.

Really getting into being a ghost here...


Phantom Princess was based on this mask I found.  Just needed a lot of  torn cheese cloth and some black spidery lace.

Love to use black crows in the design.


Our Spider Fairy Costume creation.  We have so much fun coming up with a new idea every year.  Bought the wings and mask at Party City.  I had a  black cotton dress that I cut short.  Also used a velvet children's dress that was too small and cut it up for the top.  Had purple material already.  Made a sash and hot glued a sparkly spider to the front.


Notice cabbage in my black urns.  They make a simple yet perfect display for Halloween.  I also used spanish moss, white pumpkins and crows.


I just love this headless costume.  It is so believable.  I can't take credit for this one.


Take one if  you dare!  Just stay away from the broken fingernail one.  That looks way to real!


Yes, these are edible.  I have been making these now for a couple of years.  They are very realistic.  So much that when I serve them to my daughters friends, they are hesitant to eat them.  If you do dare a bite, they are yummy!